Hello, David Jones from http://www.mixasylum.co.uk again with a blog not about production tips today, but a process that people perhaps take from granted, but for some can be a challenging aspect of getting their tracks professionally mixed or mastered. I would like to explain the export process of Garageband.
This problem came up with a client I was working with this week, so I thought, “why don’t I try to help fellow readers in a similar situation?” For this example, I am using Garageband ’09. So, let’s get started shall we?
How to export individual tracks from Garageband
1. In the window with all your tracks, press the speaker icon on all of the tracks you want to mute. This will ensure only the file you want is heard in the bounce. The track that will be hard turns an orange colour, the tracks which won’t be heard turn grey.

2. To export your soloed track, press ‘Share’ and then select ‘Send Song to iTunes’ from the top Garageband menu.
 3. A menu pops up where you can name your playlist (and other details) where the file will go in iTunes. Press Share, and the track begins to export.
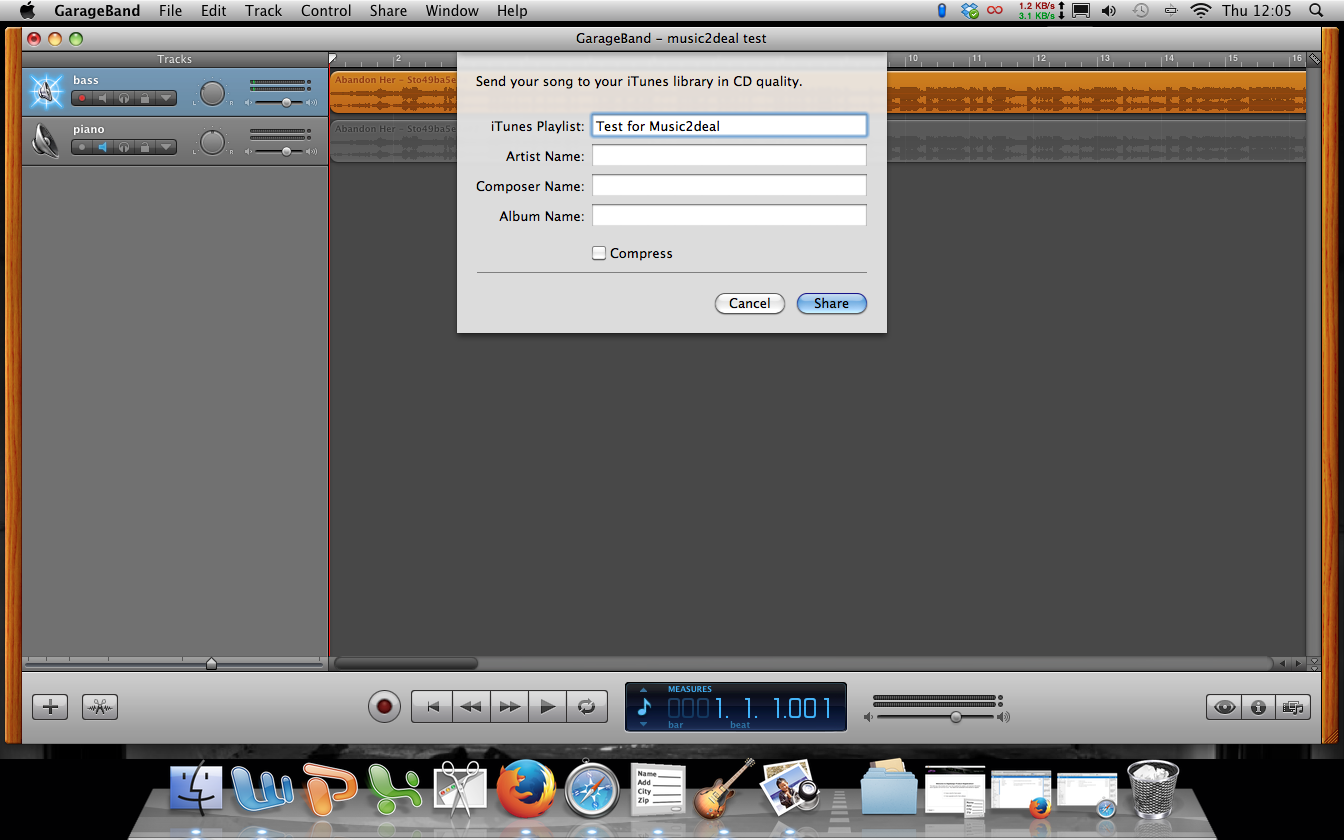
PLEASE NOTE that this is only a playlist where all the tracks will be held from this session, which means you can’t name individual tracks yet.
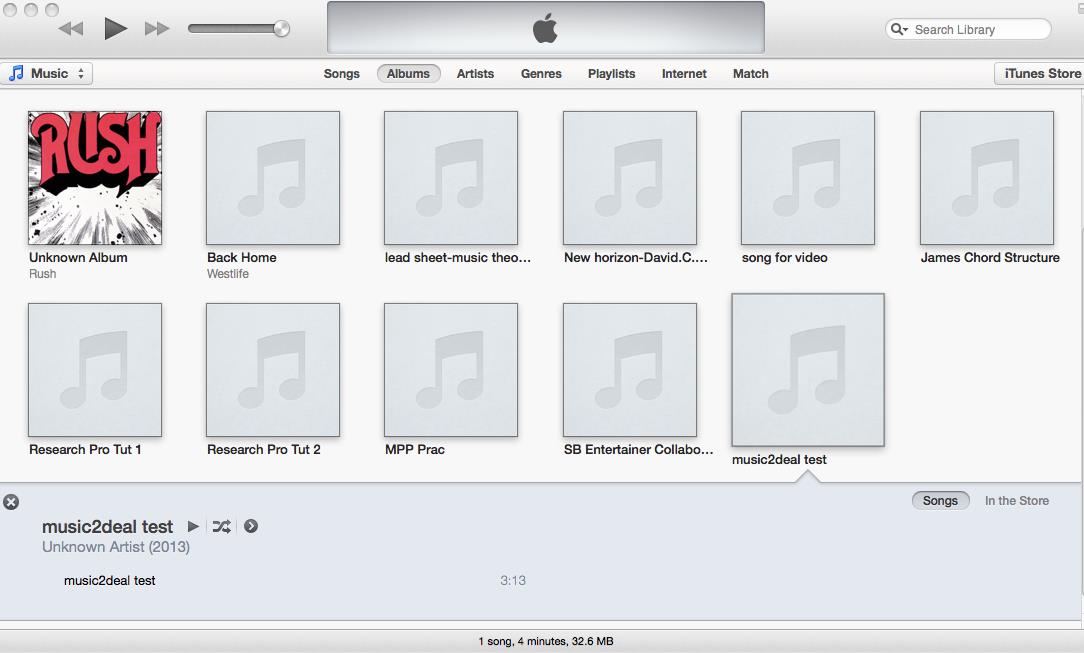
4. iTunes now appears, so scroll down until you find your playlist name.
 5. Click on the playlist, and it will open, showing the track(s) that have just been bounced. As you can see, the track defaults to the same name as the playlist. It is best to rename your tracks as you bounce them, as you would probably get confused with 20 tracks all called the same thing!
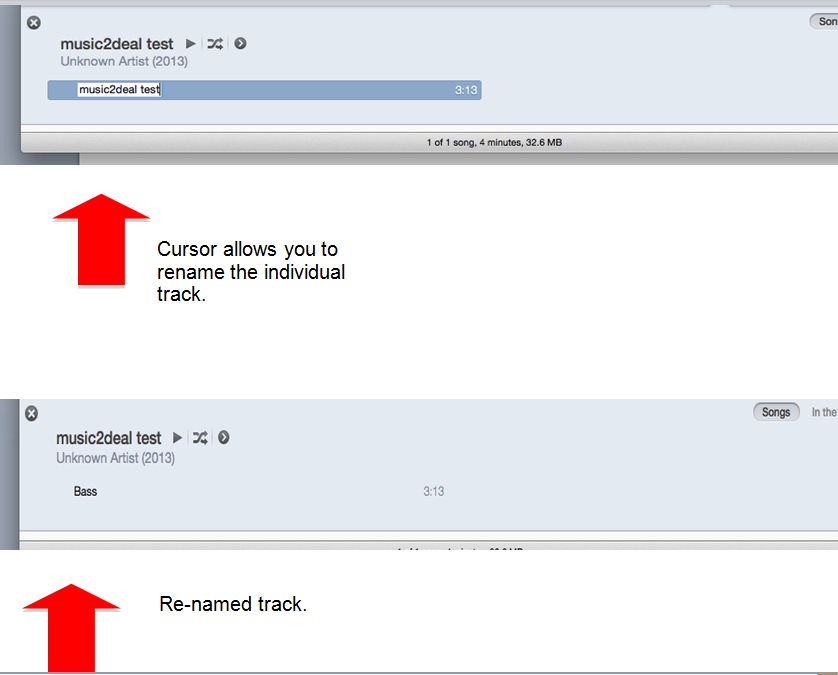
 6. Click on the name of the track until a cursor appears. This lets you be able to change the name of the individual track. When you’ve renamed it, press enter on your keyboard.
7. Repeat the above steps until all of your individual tracks are in the iTunes playlist.
8. Job done!
The final word
I know this process may seem like sucking eggs to some, but I just want to help out people who are just starting out in production be able to find their feet so that they are able to hear their own compositions as a professional .AIF file for the first time. I remember when I did my first bounce and heard my compositions for the first time; it was a joyous feeling knowing my tracks had portability for the first time.
If you want to discuss anything about this blog, please feel free to get in touch with me via email at:
techniques-mixasylum@hotmail.co.uk or send a message through my facebook page at: http://www.facebook.com/mixasylum
Any feedback is appreciated, good or bad, or if you’ve got personal tips on the exporting process of Garageband, then I’d love to hear from you.
Thanks, look out for my next blog!
David Jones

Is there no way to avoid iTunes?